3D printing has revolutionized various industries, allowing for the creation of intricate and customized objects. One fascinating application of 3D printing is the production of lithophanes. In this guide, we will explore the process of 3D printing a lithophane, step-by-step.
But first, what exactly is a lithophane? At its core, a lithophane is a three-dimensional image that appears when backlit. This effect is achieved by varying the thickness of a surface, creating areas that allow more or less light to pass through. The result is a captivating image that seems to come to life when illuminated.
So, why would you want to 3D print a lithophane? Well, for one, it allows you to transform your 2D images into a mesmerizing 3D artwork. You can immortalize meaningful moments, beloved faces, or even intricate designs in a unique and tangible form. 3D printing a lithophane gives you full control over the size, shape, and level of detail, allowing for complete customization.
To get started with 3D printing a lithophane, you will need specific materials and tools. The type of 3D printer suitable for printing lithophanes depends on your preferences and budget. Different filament options, such as PLA or PETG, offer varying levels of transparency and durability. you will need additional tools like sandpaper, tweezers, and adhesive for post-processing and finishing touches.
After gathering the necessary materials, the first step is to prepare the image for 3D printing. Choosing the right image is essential, as it should have sufficient contrast to create a compelling lithophane. Converting the image into a lithophane involves using specialized software or online converters.
Next, setting up the 3D printer is crucial for achieving optimal results. Calibrating the printer ensures precise movement and accurate layering. Adjusting print settings, such as layer height and print speed, helps optimize the print quality and efficiency.
Once everything is in place, it’s time to start printing the lithophane. Preparing the print bed and ensuring proper adhesion is essential for a successful print. Following the printing process, post-processing activities like removing supports and rafts, as well as cleaning and sanding, are necessary to refine the final lithophane. Enhancements, such as backlighting options, can further elevate the visual impact.
Lastly, troubleshooting common issues is an integral part of the 3D printing process. Print warping, layer adhesion problems, and print failure are challenges that may arise. Understanding these issues and their potential solutions can help you overcome any obstacles and achieve excellent results.
By following these steps and considerations, you can unlock the world of 3D printing lithophanes and unleash your creativity in a truly captivating way.
Key Takeaways:
- Choosing the right image: Selecting a suitable image is crucial for a successful 3D print lithophane. High-contrast images with good lighting and defined features work best.
- Calibrating the printer: Properly calibrating the 3D printer ensures accurate layering and print quality. Take the time to calibrate the printer before starting the lithophane printing process.
- Enhancing the lithophane with backlighting options: Adding backlighting can significantly enhance the visual impact of a lithophane. Experiment with different lighting options and techniques to bring out the details of the printed lithophane.
What is a Lithophane?
Photo Credits: Futureproof3D.Com by Vincent Hall
A lithophane, also known as a translucent image, is a distinctive form of artwork that utilizes light and shadow to produce a three-dimensional depiction. Constructed from materials like porcelain or plastic, lithophanes are capable of displaying clear images when illuminated from behind but fade away when devoid of light. These artistic creations can portray a wide range of subjects, such as landscapes, portraits, and intricate designs. Lithophanes are frequently utilized for decorative purposes and are especially popular as personalized gifts and keepsakes. The creation of a lithophane involves the utilization of 3D printing technology, which builds up layers of material to ultimately form the final piece.
Why 3D Print a Lithophane?

Photo Credits: Futureproof3D.Com by Peter Roberts
When it comes to 3D printing, why 3D print a lithophane? One popular item to create is a lithophane. But why should you 3D print a lithophane? Let’s explore a few reasons:
- Personalized gifts: A 3D printed lithophane can make a unique and sentimental gift for loved ones, capturing their cherished memories.
- Decorative pieces: A lithophane can add an artistic touch to your home decor, creating a beautiful and mesmerizing display when backlit.
- Educational tool: 3D printing a lithophane can be a great educational experience, allowing you to understand and experiment with the technology.
Ultimately, 3D printing a lithophane offers endless possibilities for creativity and personal expression.
Materials and Tools Needed for 3D Printing a Lithophane
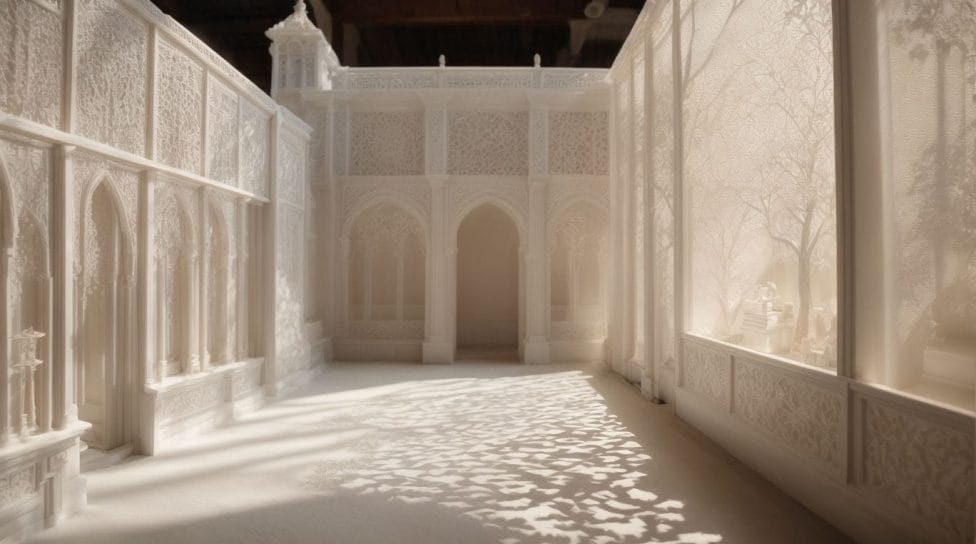
Photo Credits: Futureproof3D.Com by Dylan Young
- To 3D print a lithophane, you will need specific materials and tools. Here is a list of what you’ll need:
- A 3D printer: This is the most important tool for the process.
- PLA filament: It is commonly used for lithophane printing due to its transparency and light diffusion properties.
- A lithophane generator software: This will convert your chosen image into a 3D printable file.
- Slicing software: Use software like Cura to prepare the file for printing.
- A computer: You will need a computer to run the slicing and lithophane generator software.
- An image editing software: Adjust the image contrast and brightness to enhance the lithophane effect.
- A non-stick print bed surface: This will prevent the lithophane from sticking to the bed during printing.
Fact: The word “lithophane” comes from the Greek words “lithos” meaning stone and “phainein” meaning to appear.
What type of 3D printer is suitable for printing a lithophane?
What type of 3D printer is suitable for printing a lithophane?
The ideal 3D printer for printing a lithophane is one that has good precision and resolution capabilities. It is recommended to use a printer with a high-quality extruder and a small nozzle size, such as 0.4mm or smaller. This is because lithophanes require fine details and intricate designs, which can be achieved with a printer capable of producing thin layers and sharp edges. Additionally, a printer with a heated bed is beneficial to ensure proper adhesion of the print. Ultimately, a printer that can deliver accurate and precise results is the best choice for printing lithophanes.
What type of filament should be used?
| What type of filament should be used? | |
| Different types of filaments can be used for 3D printing a lithophane, each offering unique characteristics and properties. Here is a table summarizing some commonly used filaments for lithophane printing: | |
| Filament Type | Characteristics |
| PLA (Polylactic Acid) | Easy to print, vibrant colors, low cost |
| ABS (Acrylonitrile Butadiene Styrene) | Durable, higher temperature resistance |
| PETG (Polyethylene Terephthalate Glycol) | Combines strength and flexibility, water-resistant |
| TPU (Thermoplastic Polyurethane) | Elastic, stretchable, ideal for intricate designs |
Consider the properties you desire for your lithophane, such as color vibrancy, durability, or flexibility, to choose the most suitable filament. Experimenting with different filaments can help you achieve the desired results. Remember to adjust printer settings accordingly for optimal printing. |
Additional tools and materials required for post-processing
To achieve a polished and professional look for your 3D printed lithophane, you will need several additional tools and materials for post-processing. These include a utility knife, which is essential for removing supports and rafts after printing. Sandpaper is also necessary to clean and smooth the surface of the lithophane. In addition, you will need acrylic spray or resin to enhance the appearance and protect the lithophane. To highlight the details, a LED light or backlighting kit can be used to create a backlight effect. Epoxy or adhesive is required for attaching the lithophane to a base or frame. Finally, a picture frame or display stand can provide a way to showcase the finished lithophane. These additional tools and materials will help you achieve the desired result for your lithophane.
Preparing the Image for 3D Printing
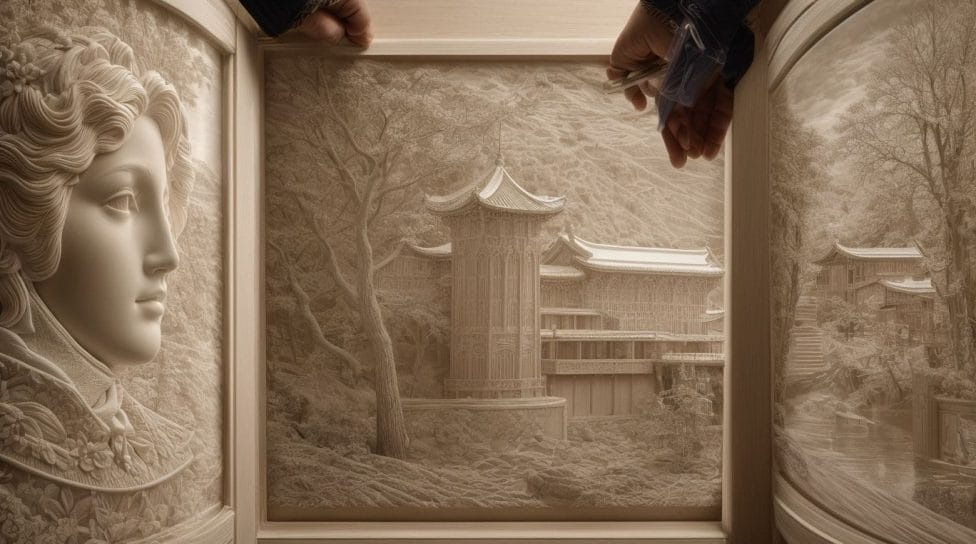
Photo Credits: Futureproof3D.Com by Noah Moore
Preparing the image for 3D printing is a crucial step in creating beautiful lithophanes. To ensure stunning results, we need to carefully select the right image and convert it into a lithophane. In this section, we’ll unlock the secrets of choosing the perfect image and delve into the process of transforming it into a captivating lithophane. So, let’s dive in and discover how to bring your chosen image to life through the magic of 3D printing.
Choosing the right image
- When selecting an image for 3D printing a lithophane, it is important to choose the right one.
- Consider images with high contrast, as they tend to yield the best results.
- Avoid selecting complex images with intricate details, as they may not translate well into a lithophane.
- Opt for vertically oriented images that can fit the typical lithophane shape.
- Make sure the chosen images hold personal significance, evoking sentimental value or meaningful memories.
For instance, let’s consider a scenario where a woman wishes to surprise her husband on their anniversary. In this case, she carefully selected a wedding photo of the couple and converted it into a lithophane. When her husband laid eyes on this beautifully crafted lithophane, he was deeply moved by the thoughtful gesture. He cherished it as a powerful symbol of their enduring love.
Converting the image into a lithophane
To convert an image into a lithophane, follow these steps:
- Choose the right image: Select a high-contrast image with distinct light and dark areas.
- Prepare the image: Use image editing software to adjust the brightness, contrast, and convert it to grayscale.
- Create the lithophane: Use a lithophane generator software or online tool to convert the grayscale image into a 3D model.
- Adjust the settings: Customize the depth and thickness of the model to achieve the desired effect.
- Export the 3D model: Save the converted lithophane as an STL file, compatible with 3D printers.
Converting the image into a lithophane allows you to transform ordinary pictures into stunning three-dimensional pieces of artwork.
Setting Up the 3D Printer for Lithophane Printing
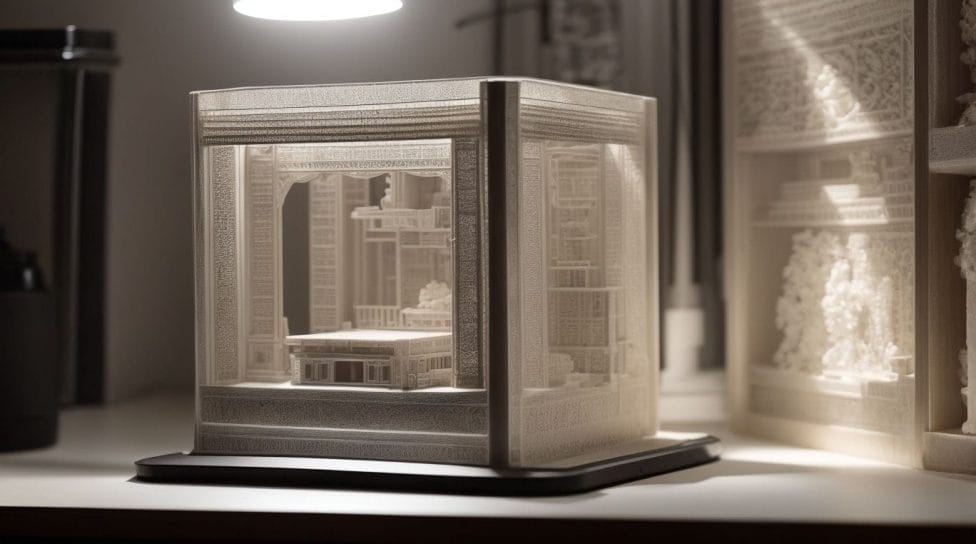
Photo Credits: Futureproof3D.Com by Alan Green
Setting up your 3D printer for lithophane printing is a crucial step to achieve stunning results. In this section, we’ll dive into the necessary tasks to ensure your printer is calibrated perfectly and your print settings are adjusted for optimal lithophane production. Get ready to unlock the full potential of your 3D printer as we guide you through these essential steps to bring your lithophanes to life.
Calibrating the printer
Calibrating the printer is vital for achieving precise and high-quality lithophane prints. Below are the necessary steps to calibrate the printer:
- First, make sure to level the print bed appropriately in order to maintain the correct nozzle-to-bed distance.
- Next, ascertain the printer’s extruder calibration by measuring the filament extrusion and adjusting the steps/mm accordingly.
- Moreover, calibrate the printer’s temperature settings to attain the optimal printing temperature suitable for the selected filament.
- Additionally, test and fine-tune the printer’s print speed settings to ensure a smooth and consistent layer deposition.
- Lastly, adequately adjust the printer’s acceleration and jerk settings to minimize any unwanted vibrations or artifacts in the lithophane print.
To ensure effective calibration of the printer, you can follow the below suggestions:
- Refer to the printer manufacturer’s documentation or online resources for specific calibration procedures.
- Regularly monitor and recalibrate the printer to maintain consistent print quality.
- Experiment with different calibration settings to optimize the print quality specifically for lithophane prints.
- Engage in online forums or communities to seek advice and learn from experienced 3D printing enthusiasts.
Adjusting print settings
Adjusting print settings is a crucial step in 3D printing a lithophane. Here are the key steps to consider:
- Layer height: Choose an appropriate layer height based on the level of detail you want. Finer layers result in higher resolution lithophanes.
- Print speed: Adjust the print speed to ensure smooth and accurate printing. Slower speeds can improve print quality.
- Temperature: Set the nozzle and bed temperatures according to the filament material being used. This ensures proper melting and adhesion.
- Infill density: Adjust the infill density to determine the level of translucency and strength in the lithophane. Higher infill percentages provide better opacity.
- Support structures: Enable support structures if necessary, especially for intricate designs. They help prevent overhangs and maintain the shape of the lithophane during printing.
- Raft and brim: Consider adding a raft or brim to increase adhesion to the print bed and prevent warping.
Printing the Lithophane
Photo Credits: Futureproof3D.Com by Roy Campbell
Printing the lithophane is a crucial step in the process of creating a captivating 3D print. In this section, we’ll dive into the nitty-gritty of this stage, exploring how to prepare the print bed for optimal results. We’ll also discover the seamless process of starting the print itself. So, buckle up and get ready to unleash your creativity as we master the art of 3D printing a lithophane.
Preparing the print bed
Preparing the print bed is an important step in 3D printing a lithophane. Here are the steps to follow:
- Clean the print bed: Ensure the surface is free from dust, debris, and fingerprints to ensure proper adhesion.
- Level the print bed: Use a calibration tool or leveling knobs to adjust the bed’s height, ensuring it is parallel to the printer’s nozzle.
- Apply a print surface: Consider using a print surface like painter’s tape, glue stick, or a specialized bed adhesive to enhance adhesion.
- Heating the bed: Depending on the type of filament, heat the print bed to the recommended temperature to aid in bed adhesion.
- Check the first layer: Before printing the lithophane, make sure the first layer adheres well and is evenly printed without any gaps.
In true history, preparing the print bed has been essential in the early days of 3D printing to ensure successful prints and reduce the risk of failed attempts. By properly cleaning, leveling, and applying a suitable print surface, users have been able to enhance bed adhesion and achieve high-quality prints.
Starting the print
- To begin the lithophane print, make sure the print bed is clean and leveled. Apply a suitable adhesive, such as hairspray, to promote bed adhesion.
- Load the filament into the printer and select the appropriate print settings, such as layer height and print speed. Start the print and monitor the progress.
The tradition of lithophane dates back to the 1820s, originating in Europe. Originally made from porcelain, lithophanes were used to create detailed images that could only be seen when backlit. With the advent of 3D printing, the process became more accessible, allowing individuals to create their customized lithophanes using various materials and colors.
Post-Processing and Finishing the Lithophane
Photo Credits: Futureproof3D.Com by Carl Hernandez
After successfully 3D printing a lithophane, it’s time to shift our focus on post-processing and giving it that perfect finishing touch. In this section, we will uncover the secrets to enhancing your lithophane’s visual appeal by removing supports and rafts, achieving a clean and polished surface through careful cleaning and sanding techniques, and finally, exploring various backlighting options that will make your lithophane truly come to life. Get ready to elevate the beauty of your lithophane with these essential post-processing steps.
Removing supports and rafts
- One critical step in the post-processing of 3D printed lithophanes is removing supports and rafts. To accomplish this, follow these steps:
- Thoroughly examine the printed lithophane to spot any attached support structures or rafts.
- Take pliers or a similar tool and carefully extract the supports and rafts from the print. Be cautious not to harm the delicate details of the lithophane.
- In case the supports prove challenging to remove, use a hobby knife or file to gently cut or scrape away the excess material.
- Once the supports and rafts are eliminated, inspect the lithophane again to ensure no residue or small fragments remain.
- To eliminate any remaining debris or residue from the printing process, clean the lithophane using isopropyl alcohol or warm soapy water.
- Before proceeding to the next step of post-processing or display options, ensure the lithophane is completely dry.
Taking the time to carefully remove supports and rafts guarantees that your lithophane appears clean and professional, showcasing its intricate details.
Cleaning and sanding the lithophane
Cleaning and sanding the lithophane is an essential step in the post-processing phase of 3D printing. Here are the necessary steps to achieve a clean and polished lithophane:
Remove supports and rafts carefully to avoid damaging the delicate details of the lithophane.
Gently clean the surface of the lithophane with a soft brush or cloth to remove any dust or debris.
Sand the lithophane using fine-grit sandpaper, starting with a higher grit and gradually moving to a lower grit for a smooth finish.
After sanding, wipe the lithophane with a damp cloth to remove any sanding residue.
To further enhance the appearance, consider applying a coating or varnish to protect and add a glossy finish to the lithophane.
Remember, taking care during the cleaning and sanding process of the lithophane is crucial to avoid damaging the intricate details. Enjoy creating beautiful and polished lithophanes for display or gifting purposes.
Enhancing the lithophane with backlighting options
To enhance the beauty of a lithophane, you can incorporate various backlighting options. Here are some steps to achieve this:
- 1. Select the right lighting: Choose a light source that suits your desired effect. LED strip lights or small LED bulbs work well.
- 2. Position the lighting: Place the light source behind the lithophane to create a backlight effect. Ensure it is evenly distributed to illuminate the entire image.
- 3. Diffuse the light: To create a softer and more even glow, use diffusing materials such as frosted glass or plastic sheets in front of the light source.
- 4. Experiment with colors: Use colored gels or filters to add different hues to the backlighting. This can create a dramatic or artistic effect.
- 5. Control the intensity: Adjust the brightness of the light source to achieve the desired level of illumination. Dimmer switches or adjustable LED lights can be helpful.
By enhancing the lithophane with backlighting options, you can elevate the visual appeal of your artwork, adding a stunning and unique touch to your 3D printed masterpiece.
Troubleshooting Common Issues in Lithophane Printing
Photo Credits: Futureproof3D.Com by Gabriel Smith
Having trouble with your lithophane printing? Don’t worry, we’ve got you covered! In this section, we’ll tackle the common issues that arise during lithophane printing and how to troubleshoot them. From print warping to layer adhesion problems and print failures, we’ll provide you with practical tips and techniques to overcome these obstacles. So, strap in and get ready to tackle those printing woes like a pro!
Print warping
| Print warping |
| Causes of print warping |
| – Incorrect bed leveling |
| – Insufficient bed adhesion |
| – Temperature fluctuations |
| Preventing print warping |
| – Proper bed leveling |
| – Ensuring good bed adhesion |
| – Using a heated bed or enclosure to maintain consistent temperature |
| Resolving print warping issues |
| – Adjusting bed and nozzle temperature settings |
| – Applying adhesion aids like glue stick or 3D printing adhesives |
| – Using a brim or raft to enhance bed adhesion |
Layer adhesion problems
Layer adhesion problems can occur during the 3D printing of a lithophane. These issues can result in layers separating or coming apart. To prevent these layer adhesion problems, several steps can be taken. First, ensure that the printer’s temperature is set correctly for the filament being used. Adjusting the print speed and increasing the extrusion multiplier may also help improve layer adhesion. Using a good-quality filament and ensuring that the printer’s bed is level and properly calibrated can make a difference. If layers continue to have poor adhesion, adjusting the cooling settings or trying a different brand of filament may be necessary.
Print failure
Print failures can be frustrating when 3D printing lithophanes. To avoid these issues and minimize the chances of print failures, follow these tips:
1. Check the printer calibration regularly to ensure proper leveling and bed adhesion, which can help prevent print failures.
2. Ensure the filament is high quality and properly loaded to prevent clogs or uneven extrusion, reducing the risk of print failures.
3. Adjust the print settings appropriately, such as layer height and print speed, to avoid issues like under- or over-extrusion that can lead to print failures.
4. Monitor the print closely to catch any errors or malfunctions early on. This can include checking for filament tangles or nozzle jams, which can cause print failures.
5. Keep the printer and printing area clean to prevent debris from causing print failures. Regular cleaning can help maintain optimal printing conditions.
By following these steps, you can increase the likelihood of successful prints and minimize the occurrence of print failures when creating your lithophane.
Some Facts About How To 3D Print a Lithophane:
- ✅ A lithophane is a 3D print of a photo that uses varying thickness to create shades of grey when illuminated from behind. (Source: Instructables)
- ✅ Lithophanes make unique and thoughtful gifts that can be personalized with any chosen photo. (Source: Instructables)
- ✅ Choosing a photo with high contrast and a simple, uniform background is important for better results in lithophane printing. (Source: Instructables)
- ✅ Cura is a recommended application for generating the 3D model from the chosen photo for lithophane printing. (Source: Instructables)
- ✅ The process of 3D printing a lithophane involves selecting a photo, using the appropriate software to convert it into a 3D model, and printing it using a 3D printer. (Source: Instructables)