Creating 3D printer designs allows you to bring your imagination to life by transforming virtual concepts into tangible objects. Whether you are a hobbyist, an artist, or an engineer, learning to create 3D printer designs opens up a world of possibilities for innovation and creativity.
Getting started with 3D printer designs requires understanding 3D modeling software and choosing the right tool for your needs. This article will provide a step-by-step guide to designing in 3D, from conceptualizing your design to exporting the design file. It will offer tips and best practices for optimizing your design for printing, considering printability and material constraints, and utilizing support structures.
To make your journey in the world of 3D printer design even more accessible, there are various online resources and tools available. These include online 3D model repositories where you can find pre-designed models, useful design templates, libraries, and community forums and tutorials to help you enhance your skills and connect with fellow designers.
With the right knowledge, tools, and resources, you can embark on an exciting journey of creating impressive and unique 3D printer designs.
Key Takeaways:
Key takeaways:
- Understanding 3D modeling software: Familiarize yourself with 3D modeling software to create intricate designs for 3D printing.
- Consider printability and material constraints: Optimize your design to ensure it can be successfully printed, and consider the material you’ll use.
- Utilize support structures: When designing complex structures, utilize support structures to maintain stability during the printing process.
What is a 3D Printer Design?
A 3D printer design, also known as a digital blueprint or model, is created using specialized software that guides the 3D printer to produce a physical object layer by layer. It serves as the virtual representation of the object that will be printed, encompassing all the necessary specifications, dimensions, and intricacies required for accurate replication. By creating 3D printer designs, individuals can transform their ideas into tangible, custom-made objects. The process involves conceptualizing the design, sketching it, creating a 3D model, adding intricate details, and finally exporting the design file for printing. So, in essence, a 3D printer design is the fundamental foundation for bringing imagination to life through the remarkable capabilities of 3D printing technology.
Why Learn How to Create 3D Printer Designs?
Why Learn How to Create 3D Printer Designs?
Learning how to create 3D printer designs is valuable for several reasons:
- Unlock creativity: With the ability to design and print your objects, the possibilities are endless.
- Customization: Designing allows for tailored creations that perfectly suit your needs and preferences.
- Innovation: With 3D printing becoming more popular, being skilled in design gives you a competitive edge in various industries.
- Cost savings: Instead of purchasing expensive pre-made objects, designing your own can save money in the long run.
Pro-tip: Start by learning basic CAD software and gradually move on to more advanced tools as you gain experience. Practice and experimentation are key to mastering 3D printer design.
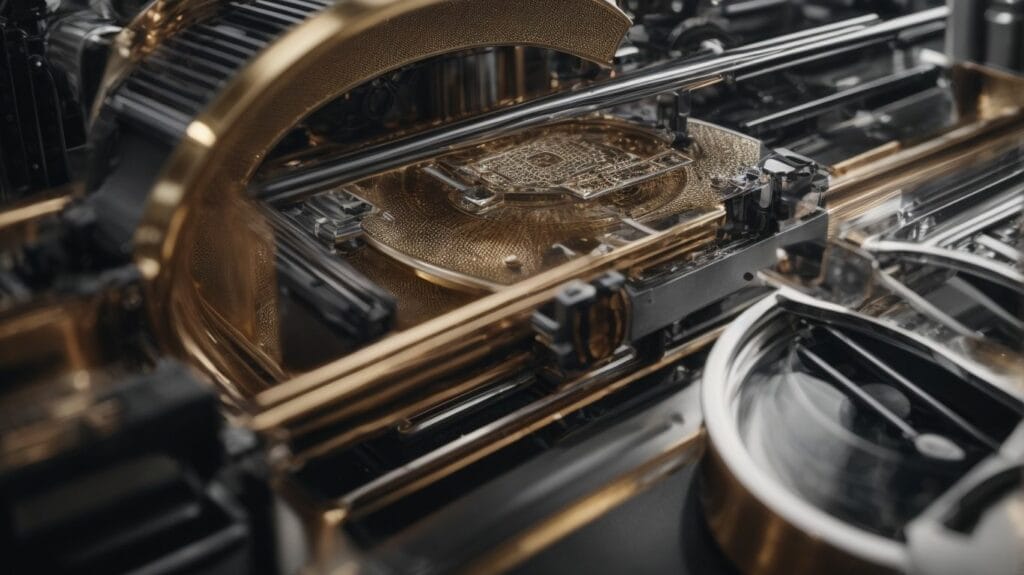
Getting Started with 3D Printer Designs
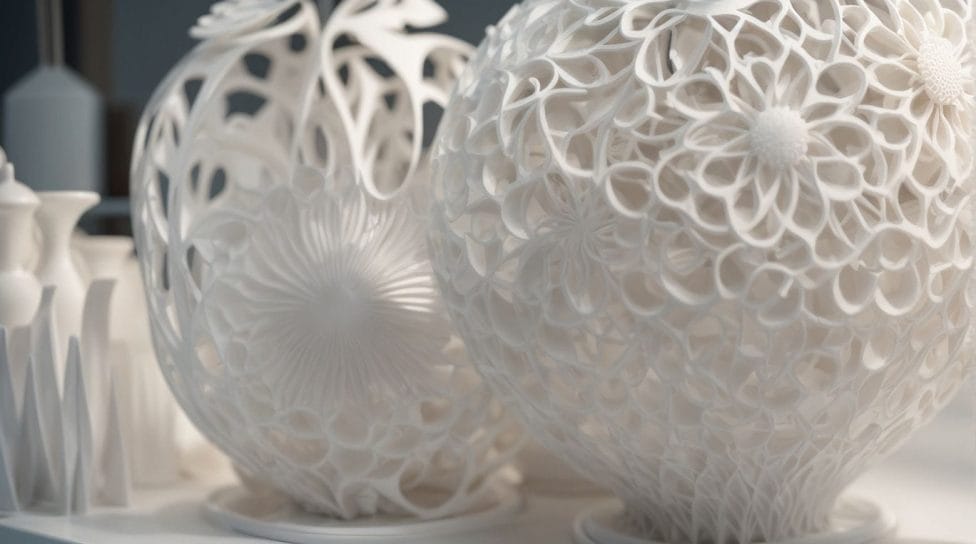
Photo Credits: Futureproof3D.Com by Eric Torres
Are you ready to dive into the fascinating world of 3D printer designs? In this section, we’ll take the first steps towards mastering this exciting technology. We’ll explore the ins and outs of 3D modeling software – understanding its power and possibilities. Then, we’ll guide you through selecting the perfect 3D modeling software for your creative needs. Get ready to unlock your imagination and bring your ideas to life in the captivating realm of 3D printer designs!
Understanding 3D Modeling Software
Understanding 3D modeling software is essential when creating designs for 3D printers. This software is instrumental in converting your concepts into printable digital models. It provides various tools for designing, manipulating, and refining your creations. Some well-known options for 3D modeling software are AutoCAD, Blender, and Tinkercad. To gain a better understanding of the software, make use of online tutorials, forums, and available resources. It is important to familiarize yourself with the various features and functions to maximize the software’s capabilities. Don’t forget to practice regularly to enhance your skills and explore new design possibilities.
Pro-tip: To find the ideal 3D modeling software that suits your needs and preferences, don’t hesitate to experiment with different options.
Choosing the Right 3D Modeling Software
When selecting the appropriate software for 3D printer designs, it is vital to prioritize the features, compatibility, and user-friendliness of the 3D modeling software. Here are key aspects to take into account:
- Features: Opt for software encompassing various tools and capabilities, including advanced modeling, sculpting, and rendering features.
- Compatibility: Verify that the software is compatible with the file formats utilized by your 3D printer, such as.STL or.OBJ.
- User-friendliness: Select software with an intuitive interface and user-friendly controls, particularly if you are a novice.
- Support and community: Evaluate software that possesses an active user community and delivers excellent technical support.
By considering these factors, you can make an informed decision and choose the ideal 3D modeling software that caters to your specific requirements, allowing you to develop top-notch designs for your 3D printer.
Designing in 3D: Step-by-Step Guide

Photo Credits: Futureproof3D.Com by Carl Nelson
Embark on a creative journey as we delve into the world of 3D design. In this step-by-step guide, we’ll explore bringing your imagination to life using a 3D printer. From conceptualization to fine-tuning the details, each sub-section will take you closer to achieving your desired 3D printer designs. So, let’s roll up our sleeves, grab a sketchbook, and dive into the exciting realm of designing in 3D.
Step 1: Conceptualizing Your Design
Conceptualizing Your Design: The First Step in Creating a 3D Printer Design
Conceptualizing your design is the first crucial step in creating a 3D printer design. This initial stage sets the foundation for the entire design process, so it’s important to approach it thoughtfully and strategically. Here are the key steps to follow:
- Step 1: Identify your design objectives and goals
- Brainstorm and gather inspiration
- Research and gather the necessary information
- Create rough sketches or digital mockups
- Refine and iterate on your initial concepts
To make the most out of this step, consider these suggestions:
- Experiment with different ideas and variations to expand your design possibilities.
- Seek feedback and input from others to gain fresh perspectives and insights.
- Keep your design objectives and desired outcomes in mind throughout the process.
Following these steps and suggestions, you can effectively conceptualize your design and set the stage for a successful 3D printer design journey.
Step 2: Sketching Your Design
When creating 3D printer designs, Step 2: Sketching Your Design is crucial. This step allows you to visualize your idea before bringing it to life. Here is a step-by-step guide to help you with this process:
- Start by outlining the basic shape and structure of your design.
- Add details to your sketch, including any intricate features or components you want to include in your design.
- Consider the dimensions and proportions of your design, ensuring they are accurate and well-balanced.
- Experiment with different angles and perspectives to get a comprehensive view of your design.
- Refine your sketch, making any necessary adjustments or improvements before moving on to the next step.
Sketching your design, as Step 2: Sketching Your Design, is a vital part of the 3D printer design process as it allows you to iterate and refine your ideas before moving on to the next stages of creating your design.
Step 3: Creating a 3D Model
When creating a 3D printer design, Step 3: Creating a 3D Model involves creating a 3D model. This step is essential as it lays the foundation for the physical object that will be printed.
- Choose the 3D modeling software that best suits your needs. Some popular options are Autodesk Fusion 360, SketchUp, and Blender.
- Import any existing designs or sketches to a reference for your 3D model.
- Utilize the various tools and features provided by the software to build your 3D model. This includes creating and manipulating shapes, adding textures or colors, and applying precise measurements.
- Take your time to refine the details of your design, ensuring accuracy and precision.
- Save your 3D model in a compatible file format, such as STL or OBJ, ready for the next steps in the printing process.
Remember, Step 3: Creating a 3D Model requires patience and attention to detail to achieve the desired outcome.
Step 4: Adding Details and Fine-tuning the Design
- Step 4: Adding Details and Fine-tuning the Design: Use the appropriate tools to smooth rough edges or imperfections.
- Step 4: Adding Details and Fine-tuning the Design: Incorporate intricate details, such as textures, patterns, or small parts, to enhance the overall look and functionality of the design.
- Step 4: Adding Details and Fine-tuning the Design: Adjust the size and proportions of the design to ensure it fits the intended purpose and matches the desired specifications.
- Step 4: Adding Details and Fine-tuning the Design: Simulate and test the design’s functionality virtually before proceeding to the printing stage to identify any potential issues or necessary revisions.
- Step 4: Adding Details and Fine-tuning the Design: Continuously refine the design based on feedback or test results to achieve the desired final product.
True story: A designer was creating a 3D-printed model of an architectural landmark. In the final stages, they meticulously added intricate details like windows, doors, and even tiny figurines to bring the model to life. This attention to detail made the final 3D print an impressive replica that delighted the designer and their client, showcasing the power and creative possibilities of adding details and fine-tuning the design in 3D printing.
Step 5: Exporting the Design File
Exporting the design file is the final step in creating a 3D printer design. Here is a step-by-step guide on how to export your design file:
- Check the file format: Ensure that the 3D modeling software supports the file format you want to export your design.
- Prepare the design for export: Make sure your design is complete, with all the necessary details and modifications.
- Choose the export settings: Determine the specific settings for exporting, such as the resolution, scale, and file size.
- Export the file: Use the software’s export function to save your design file in the desired format.
- Step 5: Exporting the Design File – Review the exported file: Open it in a 3D viewer or slicing software to ensure it looks as intended.
Remember to double-check the exported file before sending it to your 3D printer for printing. Ensure that it meets the requirements and specifications of your chosen 3D printer and material.
Tips and Best Practices for Creating 3D Printer Designs
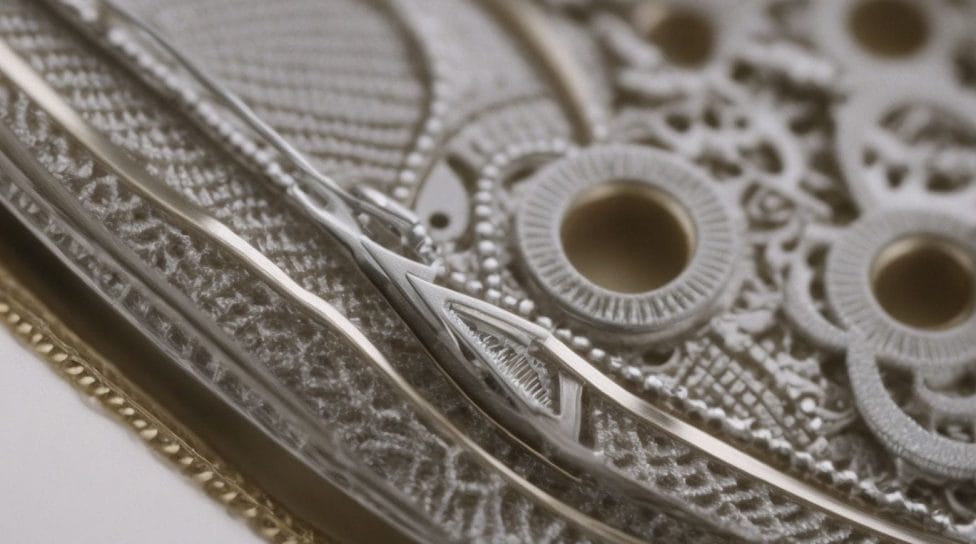
Photo Credits: Futureproof3D.Com by Samuel Brown
Buckle up, creative minds! We’re diving into the world of 3D printer designs with a laser focus on tips and best practices. Get ready to optimize your designs for seamless printing, consider the constraints of materials, and explore the wonders of support structures. We’ll uncover the secrets to taking your designs from concept to reality with precision and finesse. So, grab your imagination and tackle the art of 3D printing head-on!
Optimizing the Design for Printing
- Optimizing the design for printing is crucial to ensure successful and high-quality 3D prints. Here are some key steps to follow:
- Ensure proper design orientation to minimize supports and maximize strength.
- Avoid overhangs and steep angles that may cause printing issues.
- Adjust wall thickness and infill density for optimal strength and time/cost efficiency.
- Consider the capabilities and limitations of your specific 3D printer and adjust the design accordingly.
- Perform test prints and iterate on the design to fine-tune details and improve printing outcomes.
Pro-tip: Adding chamfers or fillets to sharp edges can reduce stress concentration and improve the overall durability of the printed object.
Considering Printability and Material Constraints
Considering printability and material constraints is crucial when creating 3D printer designs. It ensures that your design can be successfully printed and meets the requirements of the chosen printing material. Here is a table summarizing the key considerations:
| Printability | Material Constraints |
|---|---|
| Check for overhangs and unsupported areas that may require support structures during printing. | Understand the capabilities and limitations of the chosen material to ensure the design is suitable. |
| Optimize the design for minimal use of support structures to reduce waste and improve print quality. | Consider the material’s strength, flexibility, and heat resistance to ensure the design functions as intended. |
| Ensure proper wall thickness to prevent warping, cracking, or structural weakness. | Be mindful of the material’s shrinkage and dimensional accuracy to achieve the desired final product. |
| Test print prototypes to identify and address any printability or material-related issues before finalizing the design. | Consider material compatibility with any post-processing or finishing techniques you plan to apply. |
Considering printability and material constraints throughout the design process leads to successful 3D prints that meet functional and aesthetic requirements.
Utilizing Support Structures
Utilizing support structures is an essential aspect of creating successful 3D printer designs. These structures provide stability and prevent objects from collapsing during the printing process. Support structures are created in areas where overhangs or complex geometries exist. They act as temporary scaffolding and are easily removable once the print is complete. By incorporating support structures into your design, you can achieve intricate and detailed prints that would otherwise be challenging or impossible to produce. Consideration should be given to the placement and design of support structures to ensure they are effective and do not interfere with the final print quality.
Using support structures is a crucial factor in creating successful 3D printer designs. These structures ensure stability and prevent the collapse of objects throughout the printing process. Support structures are specifically implemented in areas where overhangs or intricate geometries are present. Acting as temporary scaffolding, they can be easily removed once the printing is finalized. By integrating support structures into your design, you can accomplish complex and highly detailed prints that would otherwise pose significant challenges or be unachievable. It is important to consider the placement and design of support structures to guarantee their effectiveness and avoid any adverse impact on the final print quality.
Resources and Tools for 3D Printer Design
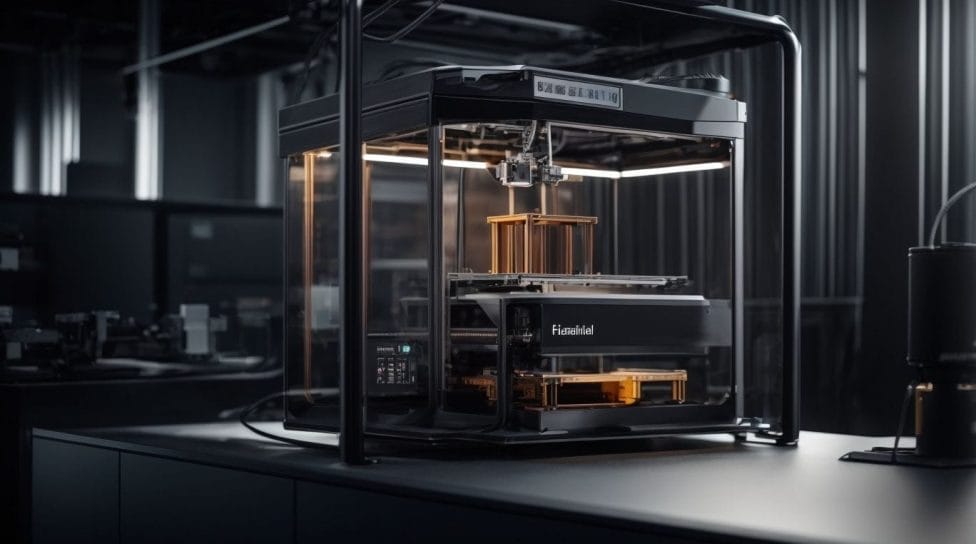
Photo Credits: Futureproof3D.Com by Tyler White
Discover a treasure trove of resources and tools to enhance your 3D printer design journey. From online 3D model repositories to a vast collection of useful design templates and libraries and engaging community forums and tutorials, this section provides invaluable insights into where you can find inspiration, collaborate with fellow designers, and sharpen your skills. Prepare to explore endless possibilities as we explore the ultimate resources for 3D printer design innovation.
Online 3D Model Repositories
Online 3D model repositories, such as Thingiverse, Cults3D, MyMiniFactory, and PrusaPrinters, are valuable resources for 3D printer designs. These platforms offer a wide range of pre-designed models that can be downloaded and printed.
- Thingiverse: A popular platform in online 3D model repositories, it provides a vast collection of user-generated designs, ranging from simple objects to complex models.
- Cults3D: Known for its curated selection of high-quality designs, Cults3D is a sought-after repository that often features intricate details and creative concepts.
- MyMiniFactory: This repository focuses on providing reliable and printable models with a strong emphasis on community-driven quality control.
- PrusaPrinters: Hosted by the renowned 3D printer manufacturer Prusa Research, this platform offers a library of verified and tested models, making it a trustworthy source in online 3D model repositories.
Exploring these online repositories can inspire creativity, save time, and enhance the possibilities of 3D printer designs.
Useful Design Templates and Libraries
Useful design templates and libraries are incredibly important for developing 3D printer designs. These resources serve as a starting point and help save precious time during the design process. Let’s take a look at a few examples:
1. Online marketplaces like Thingiverse and MyMiniFactory offer a wide range of ready-to-print designs that the community has created. These platforms are fantastic for finding inspiration and discovering unique designs.
2. Design libraries such as Autodesk’s Fusion 360 Gallery or GrabCAD have a vast collection of professionally designed models. These models can be customized to cater to specific requirements and preferences.
3. Template websites like Tinkercad or SketchUp 3D Warehouse offer pre-built designs that can be easily modified or adapted for various projects. These websites provide a fantastic solution for quickly creating personalized designs.
Now, let me share a true story that highlights the power of these resources. Juan, an aspiring maker, wanted to create a special gift for his sister’s birthday. He discovered a useful design template for a jewelry organizer on Thingiverse. Juan customized the template with his sister’s favorite colors and successfully printed it on his 3D printer. The result was a stunning and personalized gift that his sister cherished for many years.
Overall, it’s evident that useful design templates and libraries play a vital role in 3D printing, assisting makers like Juan in bringing their creative ideas to life.
Community Forums and Tutorials
Community Forums and Tutorials are indispensable assets for individuals learning the art of creating 3D printer designs. These platforms offer abundant knowledge and assistance from experienced designers and enthusiastic learners. Here are several advantages of actively participating in community forums and tutorials:
– Collaborate and exchange ideas with like-minded designers to boost your skills and ignite your creativity.
– Seek valuable guidance and receive constructive feedback on your designs, enabling you to improve and refine your work continuously.
– Access many resources, including tutorials, design templates, and libraries, which can expedite your learning process.
– Stay up-to-date with the latest trends, techniques, and software updates by discussing and sharing information.
Did you know that some community forums organize exciting design contests and challenges? Participating in these events not only allows you to showcase your talent but also provides the opportunity to win exciting prizes.
Some Facts About How to Create 3D Printer Designs:
- ✅ Tinkercad is a free web-based design tool for creating 3D objects for printing. (Source: CNET)
- ✅ Users need to sign up for a free account on Tinkercad’s website to get started with 3D modeling. (Source: CNET)
- ✅ Tinkercad provides lessons to help users navigate and familiarize themselves with the environment. (Source: CNET)
- ✅ Users can assemble their 3D objects in Tinkercad by dragging and modifying prefab shapes. (Source: CNET)
- ✅ Tinkercad allows users to download their 3D design as an STL file for printing. (Source: CNET)